How A Biltong Maker Reads A Hanging Slab To Know When It Is Done Without Instruments
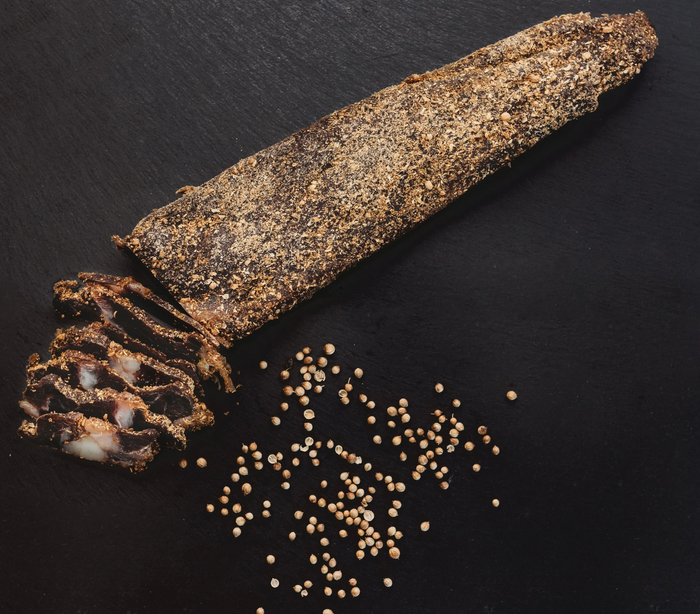
An experienced biltong maker reads a hanging slab through a sequential hierarchy of five sensory checks, none of which require a single instrument. First, the outer surface develops a papery, slightly translucent layer that resists puncture without tearing. Second, color progresses from deep red to an even burgundy-brown across the entire face, with no patchy variation. Third, thumb pressure at the thickest point yields slight resistance rather than easy give or rigid spring-back. Fourth, a light fingernail tap on the crust produces a faint crackle, not a moist yield. Fifth, a gentle lengthwise flex shows the slab bending without cracking, because cracking signals overdrying. The slab is done when the center thickness matches the firmness of the thinner edges, and the surface shows a matte sheen rather than visible moisture beads.
Shop the real thing: buy biltong online, Glatt Kosher and made in Florida. US orders over $50 ship free.
That paragraph is the whole answer. But knowing the signals is not the same as knowing how to read them, and here is where most home makers go wrong. Every guide you will find online presents those checks as an unordered list, a menu you consult at any time. Pick the one that resonates and declare the slab done. That is not how it works. These signals fire in a specific sequence over the life of the hanging slab, and reading them correctly means understanding what stage you are in, not just what boxes you can tick. A maker who feels the crust crackle on day two and pulls the slab has passed one check and missed four others. The slab is not done. They just found the first signal and stopped looking. That one mistake accounts for almost every case of biltong that comes off the hook tasting wet in the middle, or chewy in the wrong way, or flavor that never quite concentrated the way it should. The sequence is the craft. Without it, the individual signals are noise.
The First Two Signals: What Your Eyes Tell You Before Your Hands Do Anything
The drying process starts at the surface and works inward. Moisture migrates outward from the center of the slab, passes through the exterior, and evaporates into the air around it. The first place that shows up is the skin of the meat itself.
In the early hours of a hang, the surface of the slab looks exactly like what it is: raw beef. It is moist, slightly tacky if you touch it, and its color is the vivid, saturated red you expect from good grass-fed beef. That red is your baseline, not your target. You are watching for it to leave.
The first visual signal is the development of a papery outer layer. This is not a hard shell. It is a thin, dry film that forms as the outermost moisture evaporates. When you press a fingernail gently into it, it resists without tearing, and it does not yield softly the way wet meat does. It has just enough structure to push back. When you see that layer forming, you know the surface cure has begun in earnest. The slab has entered the progression. It has not finished it.
The second signal is color, and this one takes longer to read correctly because it requires looking at the whole face of the slab, not just the edges. Color progression from deep red to a darker burgundy-brown is what you are after, but the key word is even. An even, consistent burgundy-brown across the entire face of the slab tells you moisture loss is happening uniformly. Patchy color, where some areas have gone burgundy while others are still red, tells you the drying is uneven, probably because of inconsistent airflow or inconsistent thickness in the cut. Patchy color means the slab is not ready, and it means you have a structural problem with your hang that no amount of waiting will fully fix. You are looking for saturation that covers the whole face the way a dye covers fabric, not the way sun hits a room through a window.
These two signals, the papery surface and the even color shift, are what you track first because they are the only honest feedback you get before the interior has changed meaningfully. A slab can look deceptively dry on the surface while the center is still dense with moisture. That is exactly why the sequence continues past the eyes.
The Middle Signals: Thumb Pressure, Crust Crackle, and the Smell Nobody Talks About
Once the surface has developed that papery layer and the color has started to shift evenly, you move to touch. Not the edges. Not a corner. The thickest point of the slab, which is almost always the center.
Press your thumb into that thickest point with steady, moderate pressure. What you feel tells you exactly where you are in the drying progression. An underdried slab gives easily, almost like pressing into firm bread dough. The surface depresses without much resistance and the center feels dense and heavy beneath it. That is moisture. An overdried slab springs back hard, almost rigidly, because the fibers have tightened beyond the point where they have any flex left in them. Neither of those is what you want. The target is slight resistance: the slab pushes back against your thumb, gives just a little, and then holds. That response means the exterior structure has formed and the interior has shed enough moisture to firm up without going brittle.
At roughly the same stage, the fingernail tap test becomes meaningful. Press your thumbnail lightly against the exterior crust and flick it. An underdried slab gives a muffled, moist thud. It absorbs the contact. A properly cured slab produces a distinct, papery crackle. Not loud. Not dramatic. Just a faint, dry snap that tells you the crust has set. This is a tactile and auditory check at the same time, and once you have heard a properly cured crackle against an underdried thud, you cannot confuse them. It is one of those differences that only takes one batch to permanently calibrate your sense memory.
Running alongside all of these tactile signals is a sensory check that most home makers overlook almost entirely. The smell. A freshly hung slab smells like raw beef with vinegar and spice on top of it. That is the brine and the cure. As the drying progresses and real moisture migration happens through the interior, the smell changes. The raw note fades. What comes forward is a concentrated, savory beef aroma, the smell of the proteins and the fats tightening and intensifying as the water content drops. It is not a subtle shift. When you pull a slab that has reached that savory concentration and hold it near your nose, it smells like the most intensely beefy thing in the room. That smell is flavor in progress. When you experience it on a batch you have already confirmed with the other checks, you start to recognize it as confirmation rather than coincidence. It takes a few batches to trust it, but it is real.
There is a reason we describe our slabs as something you slice fresh off the slab for the most tender, melt-in-your-mouth result. That texture is what correct doneness actually produces. It is not an accident of a good cut of beef. It is the outcome of reading these signals correctly and pulling the slab at exactly the right point in the progression, not a day too early and not a day too late.
The Final Confirmation: Flex Test and Edge-to-Center Alignment
You have watched the surface go papery. You have seen the color move to an even burgundy-brown. You have pressed the thickest point and felt it resist without locking up. You have heard the crackle. You have noticed the smell shift. Now you do the flex test, and then you do one last comparison that closes the loop.
Hold the slab along its length, one hand at each end, and apply a gentle flex. You are not trying to bend it sharply. You are applying just enough curve to let the grain of the meat respond. A properly dried slab flexes. It gives a little along its length the way a leather strap would, with structure and some pliability working together. An overdried slab does not flex. It resists briefly and then splits along the grain, sometimes with an audible crack, and the split has a dry, chalky edge. That grain split is irreversible. Once it happens, you have gone too far. The slab has lost more moisture than the texture can absorb back, and slicing it will give you pieces that feel dry and somewhat mealy rather than the supple, dense bite that makes a properly cured slab worth the wait.
The flex test is the definitive gateway check. Pass it and move to the final confirmation. Fail it and you have learned something important about your hang time and airflow that will make the next batch better.
After a successful flex, look at the surface under any light. A slab that is ready shows a matte sheen. It looks finished, settled, almost velvety on the surface. A slab with remaining moisture to shed shows visible glistening, small surface beads of moisture, or a wet reflectiveness that tells you the evaporation has not completed. Matte is done. Glistening is not.
Then do the final comparison: press the thickest center point with your thumb again, and then press one of the thinner edges or corners. They should feel the same. The edges and corners of any hanging slab dry faster than the center because they have more surface area exposed to airflow relative to their mass. This is why makers who assess the slab by touching its edges consistently pull too early. The edges are always ahead of the center. When the center finally matches the firmness of those leading edges, the whole slab has arrived at the same place. That edge-to-center alignment is the final confirmation gate. It is what tells you the entire slab, not just its perimeter, has finished the progression.
There is a sixth sensory input that no article can actually teach you, and this one is worth naming even though it takes time to develop. Weight. An experienced curer develops a feel across repeated batches for how a ready slab feels in the hand relative to its size. Not its absolute weight, but its relative lightness. A slab that has shed the right amount of moisture feels noticeably lighter than it did when it went up, and experienced hands start to develop an intuition for that ratio. It is a calibration skill built over batches, not something you can read from a chart. The other five checks can be learned in one session. This one accumulates over time. But knowing it exists means you start paying attention to it sooner, which is the whole point of naming it here.
We set aside only a handful of slabs per batch specifically because producing them correctly takes this level of attention. That limited per-batch inventory, which sometimes means a two-to-three week wait for our Biltong Slabs, is a direct consequence of the time and assessment that each slab requires. You cannot rush the progression. You can only read it accurately and pull at the right moment.
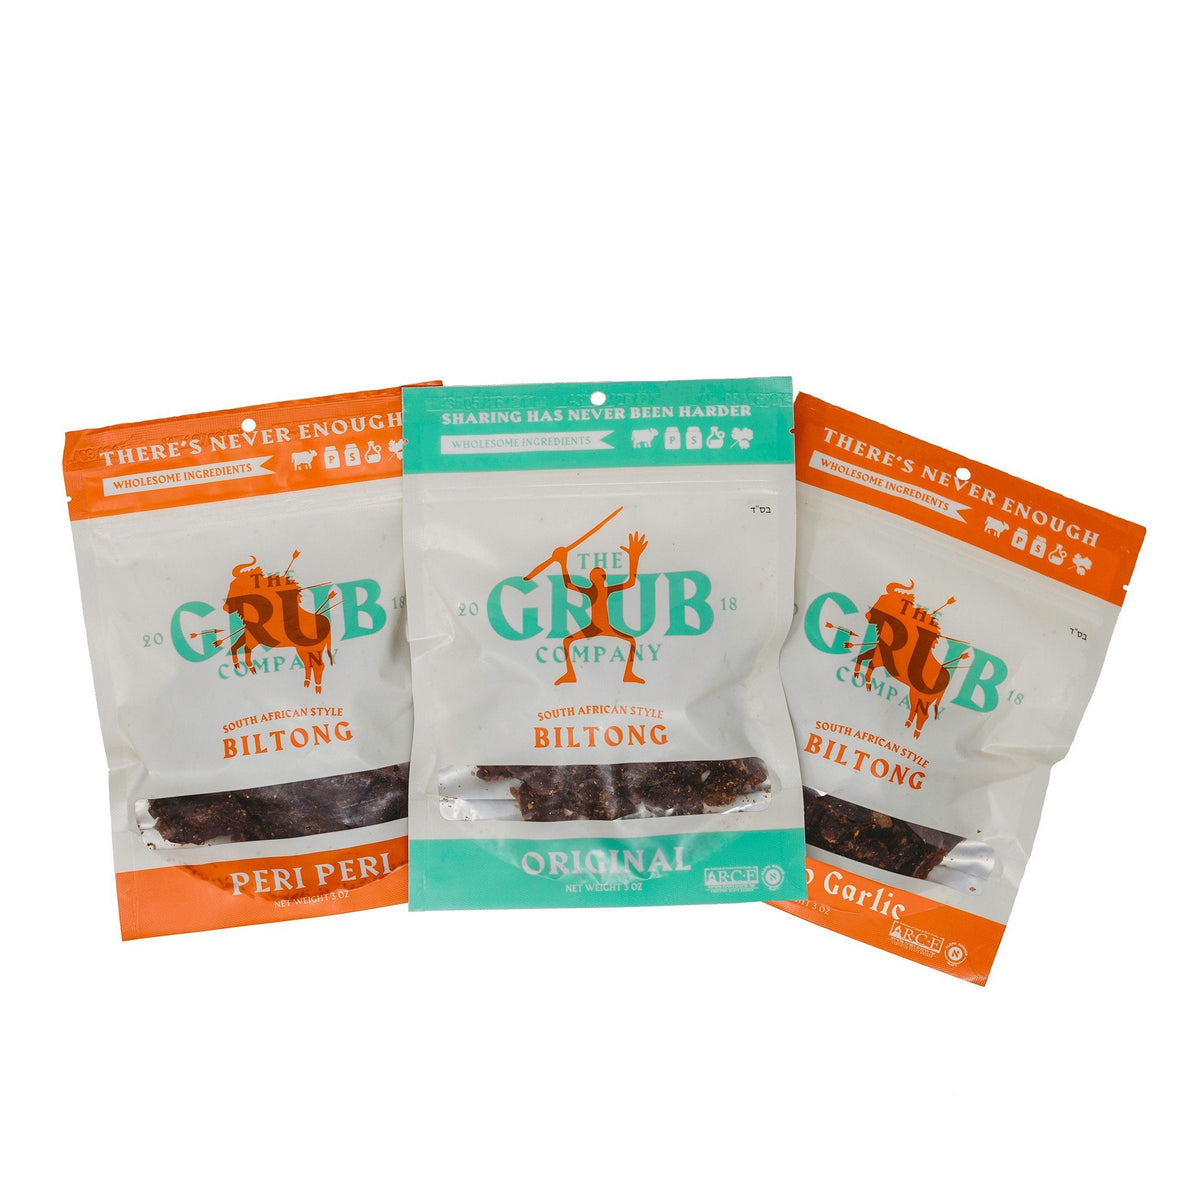
If you want to experience what a correctly read, properly pulled slab actually tastes like before you commit to making your own, the Biltong Sampler Pack is an honest starting point. Three flavors, one order, and a direct reference for what the finished product should feel and taste like. That reference point is genuinely useful when you start reading your own slabs, because you need something to compare against. A maker without a reference is just guessing at a target they have never seen.
The sequence matters more than any single check. Read the whole progression in order, confirm edge-to-center alignment, and pull when the matte sheen and the flex test both say yes. That is how it is done.
These questions come up every time someone starts making their own slabs, and the answers are worth having in one place before you hang your first batch.
Frequently Asked Questions
Can I just use hanging time in days as my main doneness guide?
Time is a rough guide at best and a misleading one at worst. A slab's drying rate depends on its thickness, the airflow in your hanging space, the ambient humidity, and the starting moisture content of the beef. Two slabs of different thickness hanging side by side in the same room will finish days apart. The sensory checks described here, the papery surface, the color shift, the thumb press, the crackle, and the flex test, give you real-time feedback that calendar days cannot. Use time as a rough lower bound, not as a primary signal.
What does an overdried slab actually feel like compared to a properly done one?
An overdried slab feels rigid under thumb pressure, springs back hard without any give, and splits along the grain when you apply a gentle lengthwise flex. The edges take on a darker, almost black color and the texture when you slice it is dry and crumbly rather than supple and dense. The moisture that carries flavor has left the meat entirely, so an overdried slab also tastes flat compared to one pulled at the right point. The flex test is the clearest single check for overdrying: a slab that splits has gone too far.
Why do the edges of my slab always seem done before the center?
The edges and corners of any hanging slab have a higher surface-area-to-mass ratio than the thick center. That means moisture escapes faster from the perimeter than it does from the middle. This is a structural reality of the shape, not a sign that something is wrong. The important thing is to assess doneness at the thickest center point, not at the edges. When the center finally matches the firmness of those leading edges and corners, the entire slab has reached the same stage. That alignment is the final confirmation before pulling.
What should a properly done slab smell like?
A properly dried slab smells like concentrated, savory beef. The raw meat note that you started with, combined with the vinegar and spice of the brine, gives way to a deeper, more intense aroma as moisture migration progresses through the interior. It is not a subtle change. When you hold a ready slab close, it smells noticeably more powerful and more beefy than it did on day one. Most home makers overlook this signal entirely because they are focused on visual and tactile checks. Adding smell to your read gives you one more data point in the progression.
How is the flex test different from just squeezing the slab?
A thumb press tests surface firmness and tells you about the exterior crust and the immediate subsurface layer. The flex test tells you about the structural integrity of the whole slab from the inside. You apply a gentle lengthwise curve, both hands holding the ends, and watch how the slab responds across its full length. A properly dried slab bends without the grain separating. An overdried slab splits. Squeezing compresses a small area of the surface. Flexing reads the whole piece. You need both checks because they give you different information about different layers of the same slab.
How long does it take before a biltong slab shows the papery outer layer for the first time?
The papery outer layer is the first visual signal, and it forms relatively early in the hang, often within the first day or two depending on your airflow. Its appearance is encouraging but it does not mean the slab is close to done. It means the surface cure has begun. The interior still has a long way to go. Think of the papery layer as the starting gun for the rest of the progression, not the finish line. When you see it forming, you know the slab is on the right track, and you shift your attention to the color progression as the next signal to watch.
Can I use these sensory checks on sliced biltong or only on whole slabs?
These checks are specific to whole hanging slabs, where the thickness gradient between the center and the edges is what you are reading. Sliced biltong dries more uniformly because every piece has a much smaller cross-section. The progression described here, especially the edge-to-center alignment and the flex test, applies to the slab format where the thickest point is genuinely thick. If you want to experience the finished result of correct slab assessment without making your own, the Sliced Biltong and the Biltong Slabs in the catalog show you exactly what the target texture and flavor profile should be.
Ready to pick one? Browse Biltong Bulk & Wholesale.